|
|
Step 1: Glue top/back |
|
|
|
|
Step 2: Cut inlay slot |
|
|
|
|
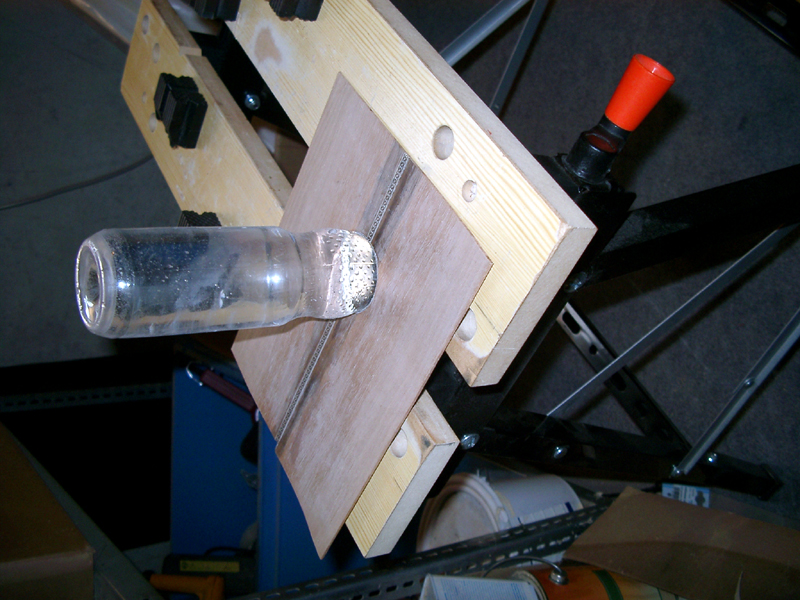
Step 3: Glue inlay |
|
|
|
|
Step 4: Drill sound hole |
|
|
|
|
Step 5: Sound hole binding |
|
|
|
|
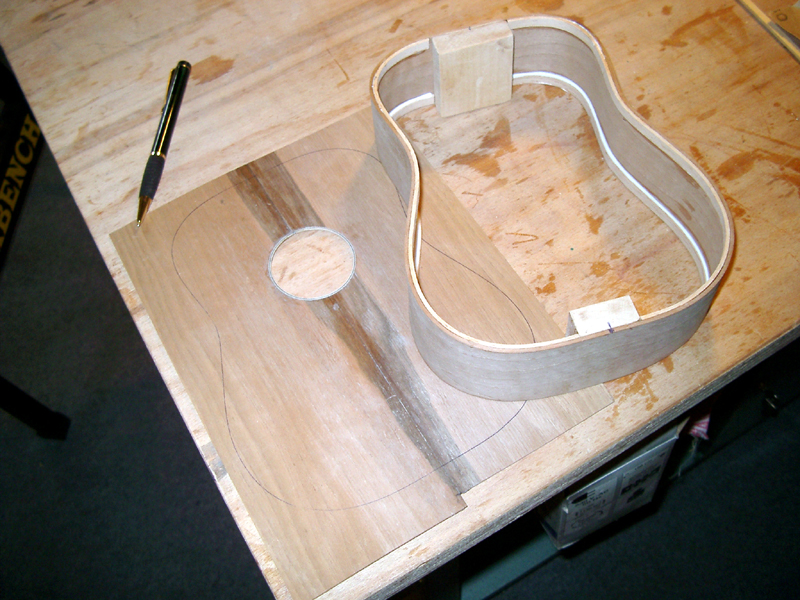
Step 6: Draw top shape |
|
|
|
|
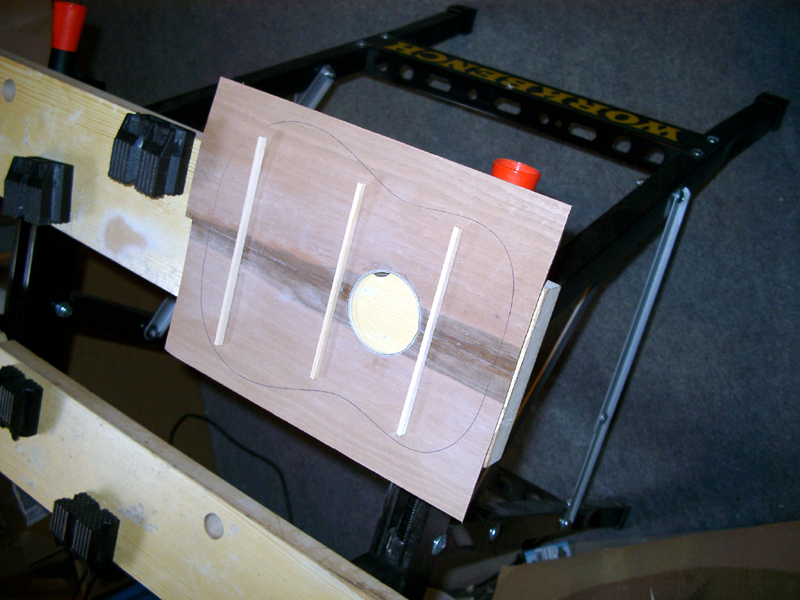
Step 7: Top braces |
|
|
|
|
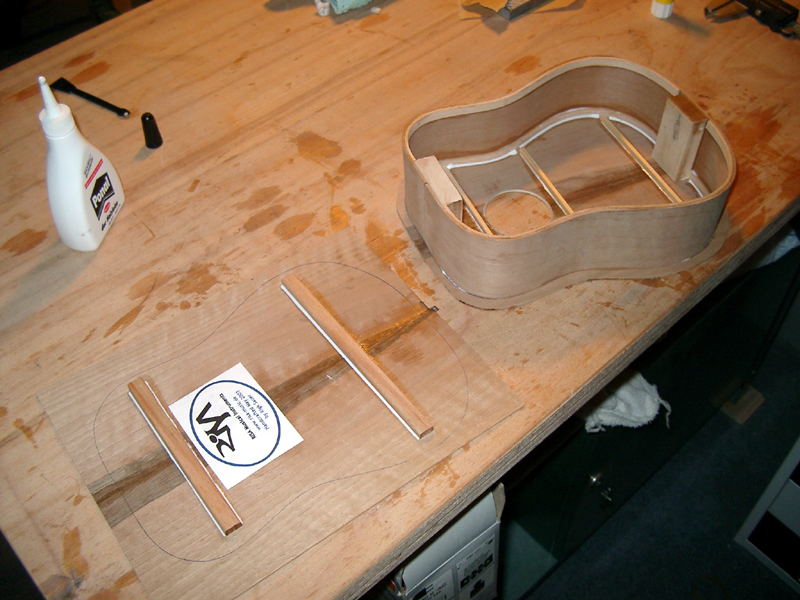
Step 8: Glue braces |
|
|
|
|
Step 9: Back braces |
|
|
|
|
Step 10: Glue top |
|
|
|
|
Step 11: Glue back |
|
|
|
|
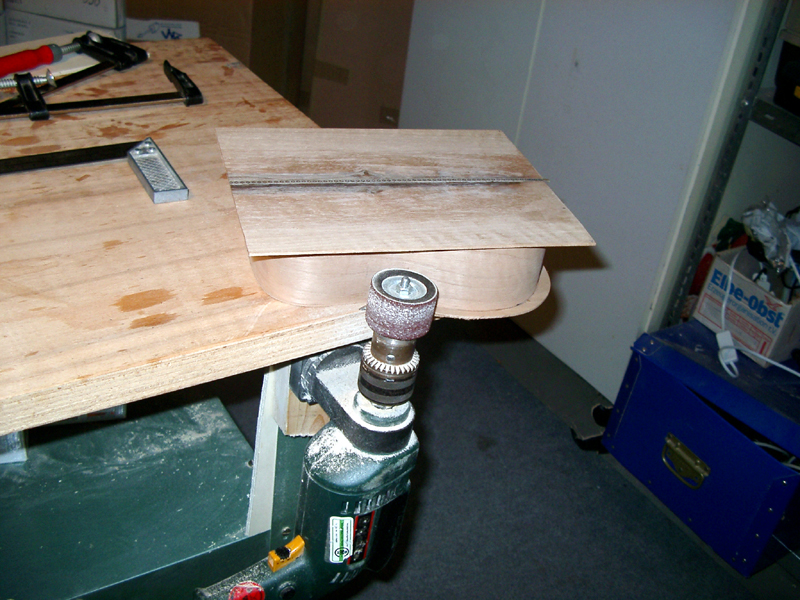
Step 12: Sand top edge |
|
|
|
|
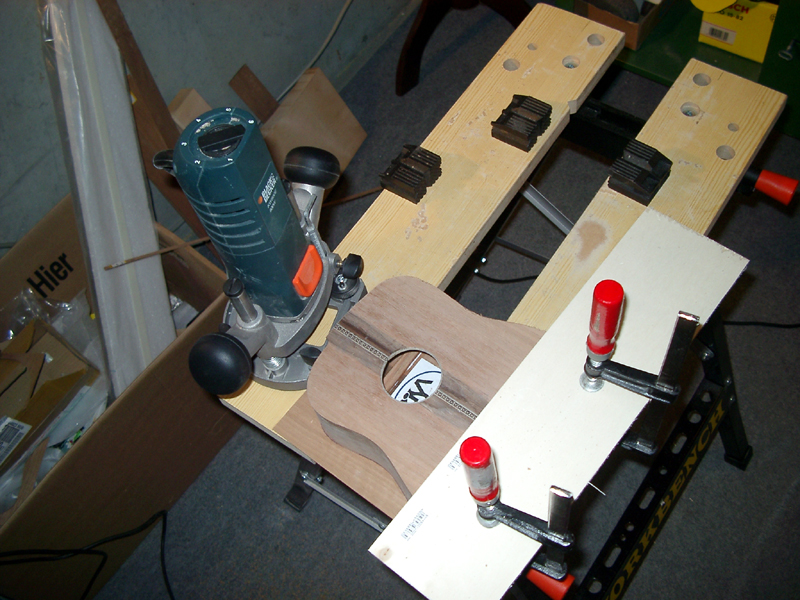
Step 13: Cut top edge |
|
|
|
|
|
|
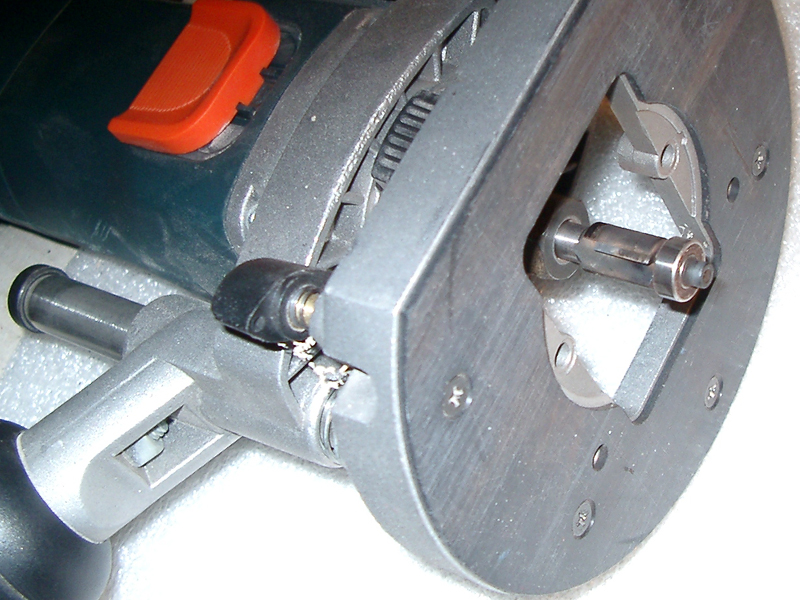
Step 14: Cut binding slot |
|
|
|
|
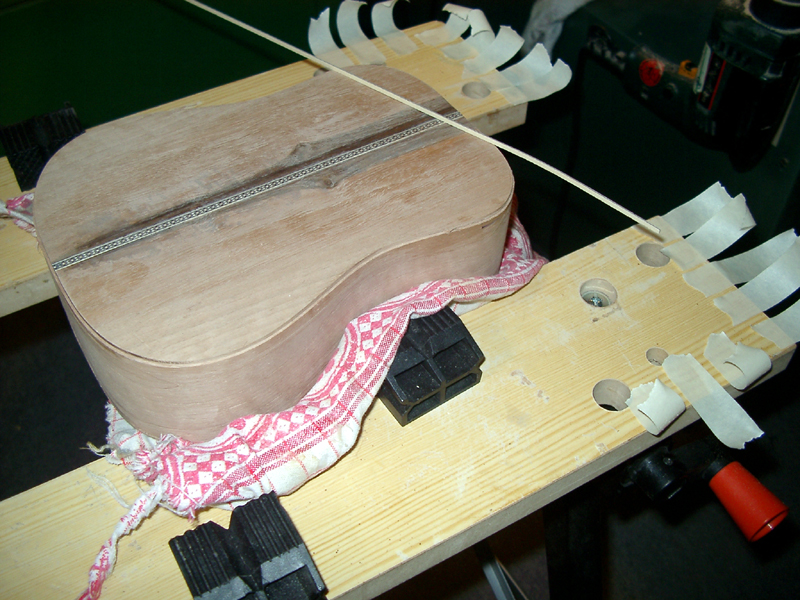
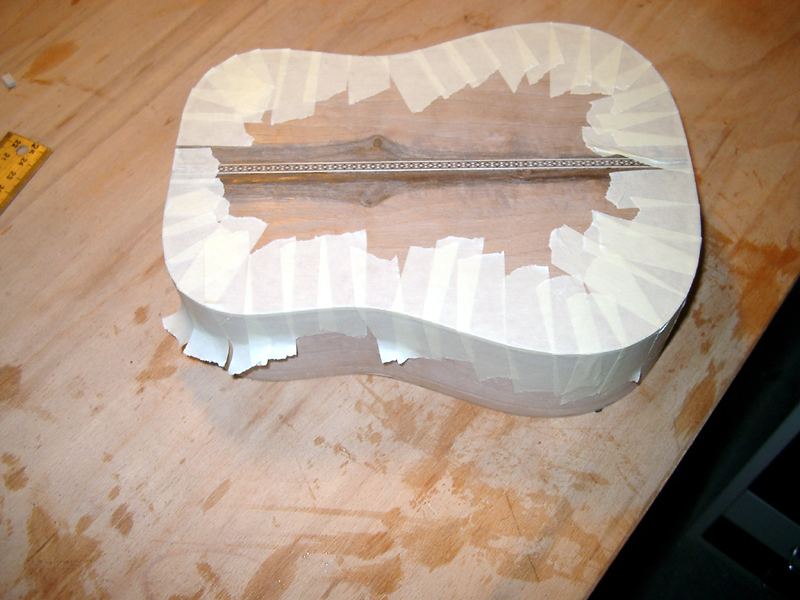
Step 15: Glue and tape binding |
|
|
|
|
Step 16: Cut neck slot |
|
|


© 2009 powered by
RISA Musical Instruments
