|
|
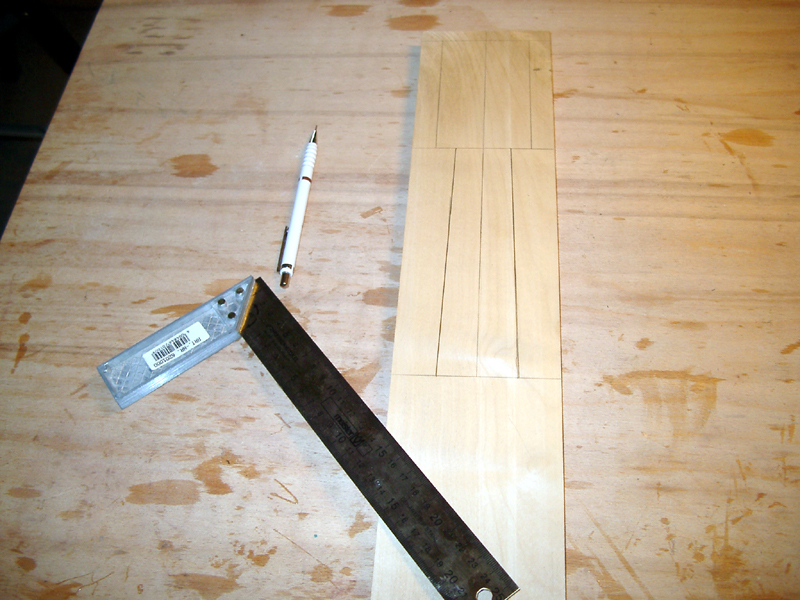
Step 1: Neck shape |
|
|
|
|
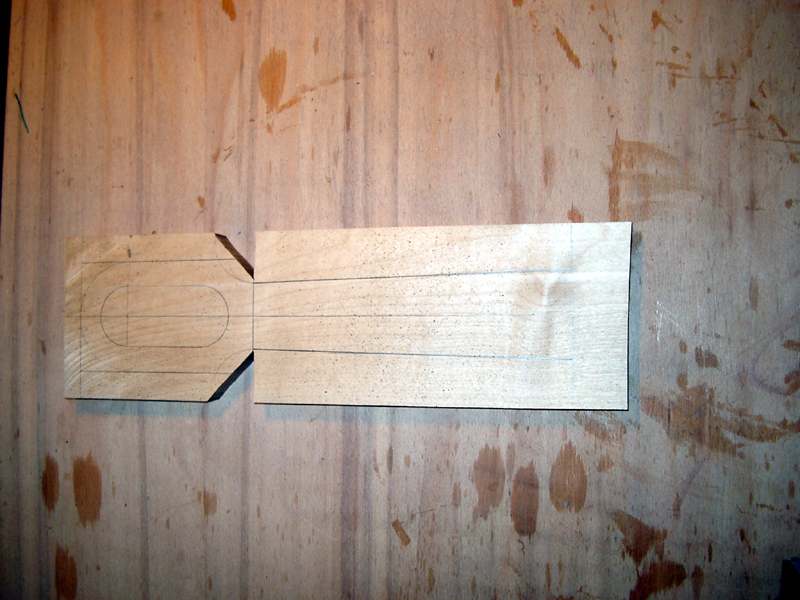
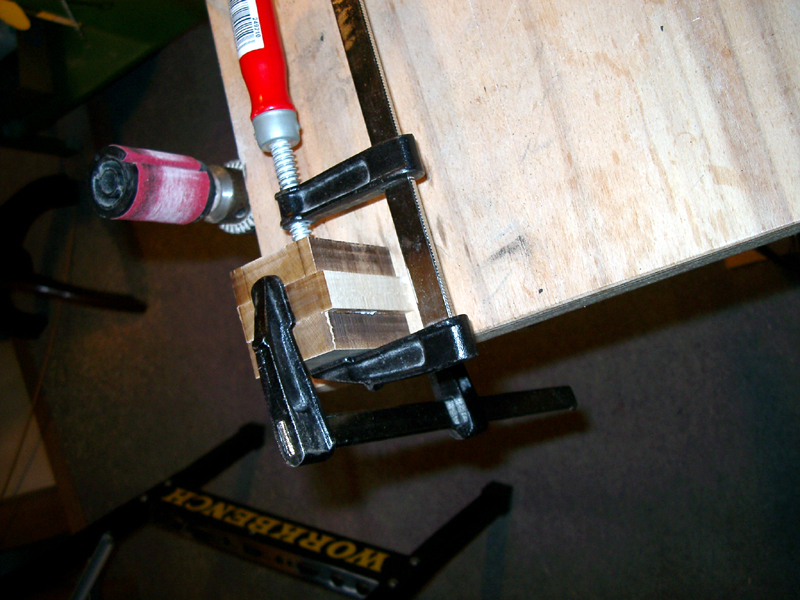
Step 2: Cut the neck |
|
|
|
|
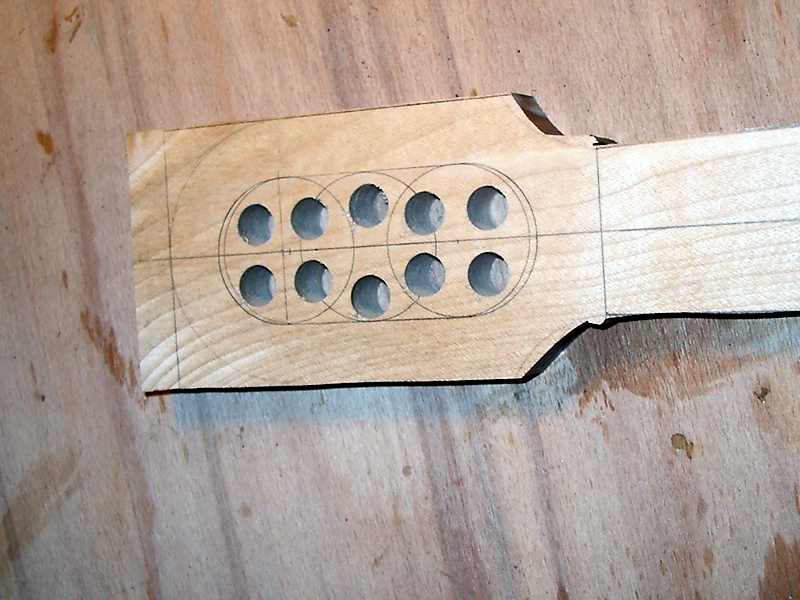
Step 3: Pre-drill headstock |
|
|
|
|
Step 4: Drill headstock |
|
|
|
|
Step 5: Sand headstock |
|
|
|
|
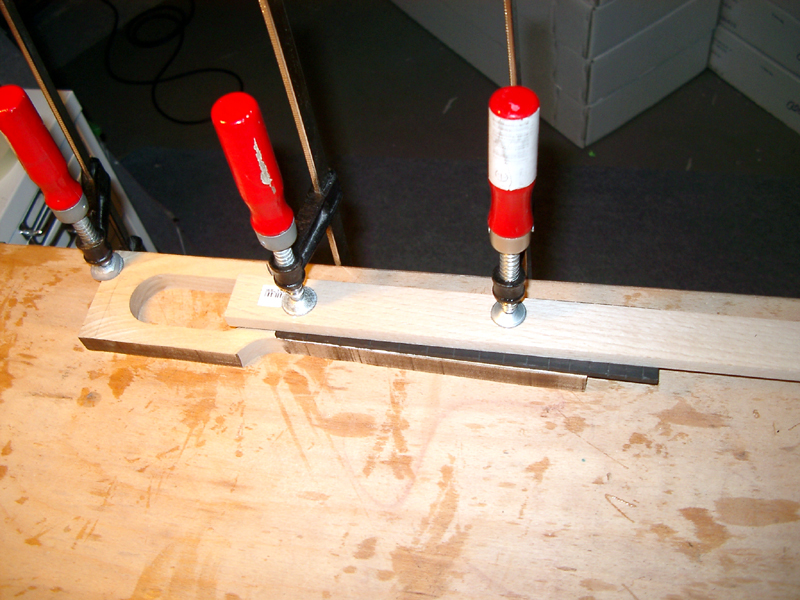
Step 6: Glue fingerboard |
|
|
|
|
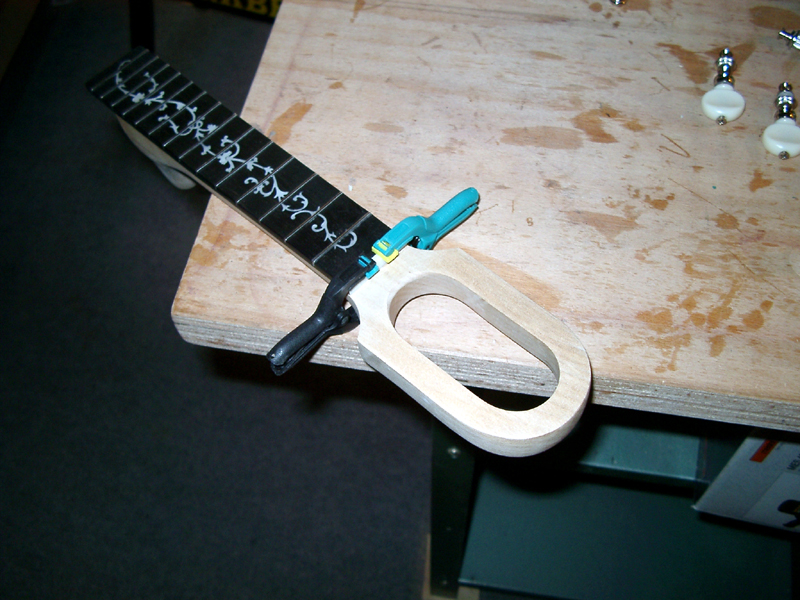
Step 7: Glue heal |
|
|
|
|
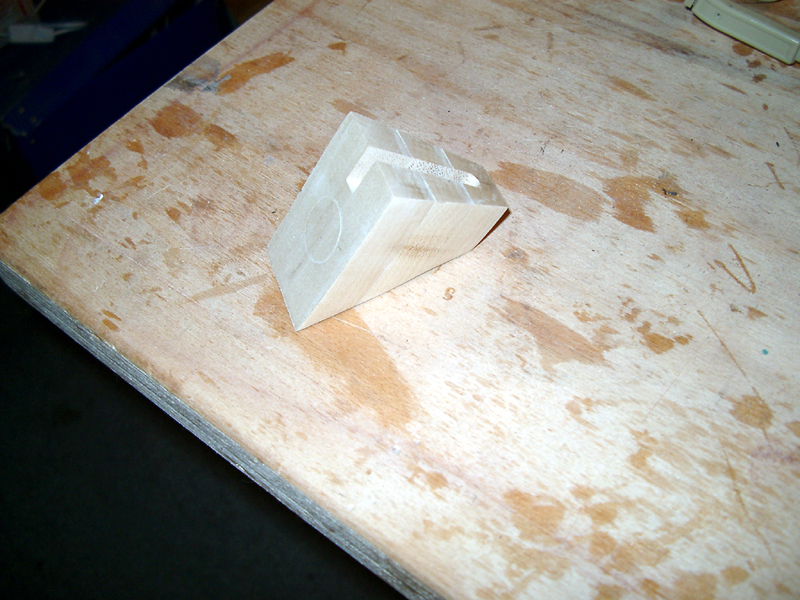
Step 8: Shape neck-heal |
|
|
|
|
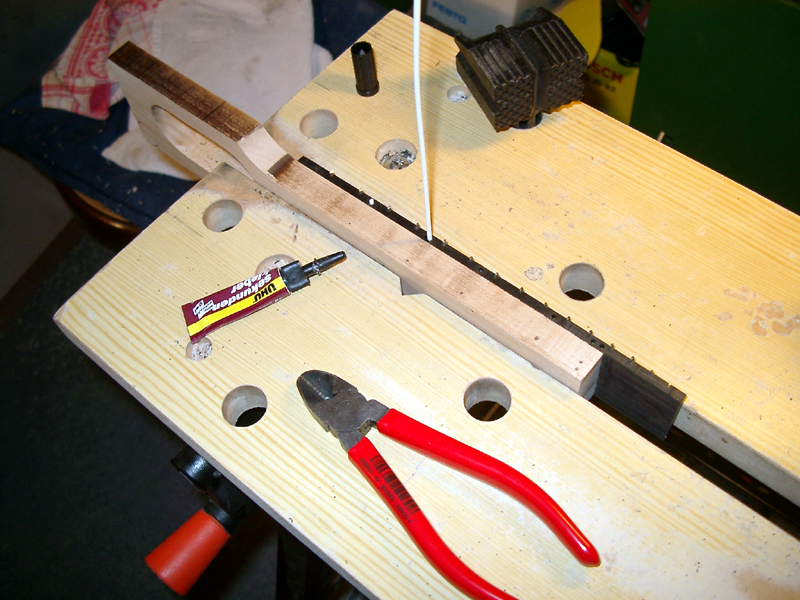
Step 9: Fretting |
|
|
|
|
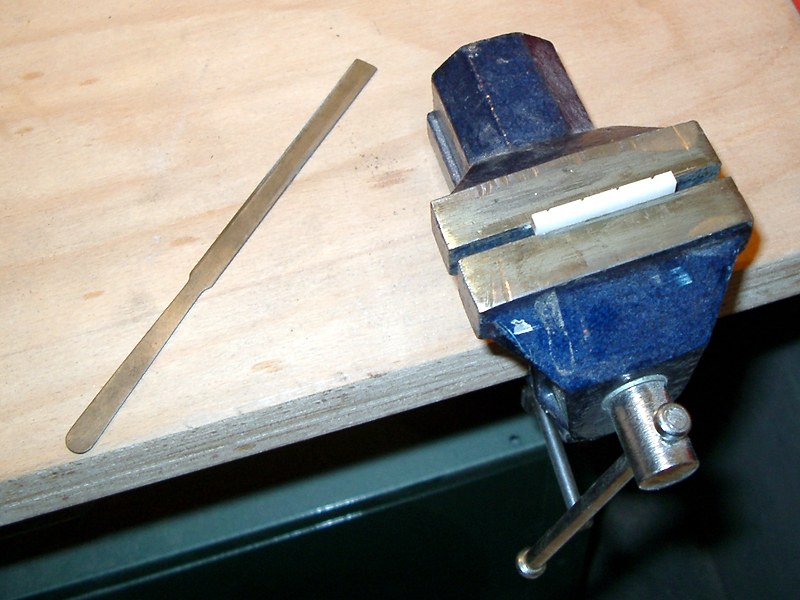
Step 10: Side dots |
|
|
|
|
Step 11: Glue neck-heal |
|
|
|
|
Step 12: Close fretwire slots |
|
|
|
|
Step 13: Neck shaping |
|
|
|
|
Step 14: Nut slots |
|
|
|
|
Step 15: Glue nut |
|
|
|
|
Step 16: Polish neck |
|
|


© 2009 powered by
RISA Musical Instruments
